
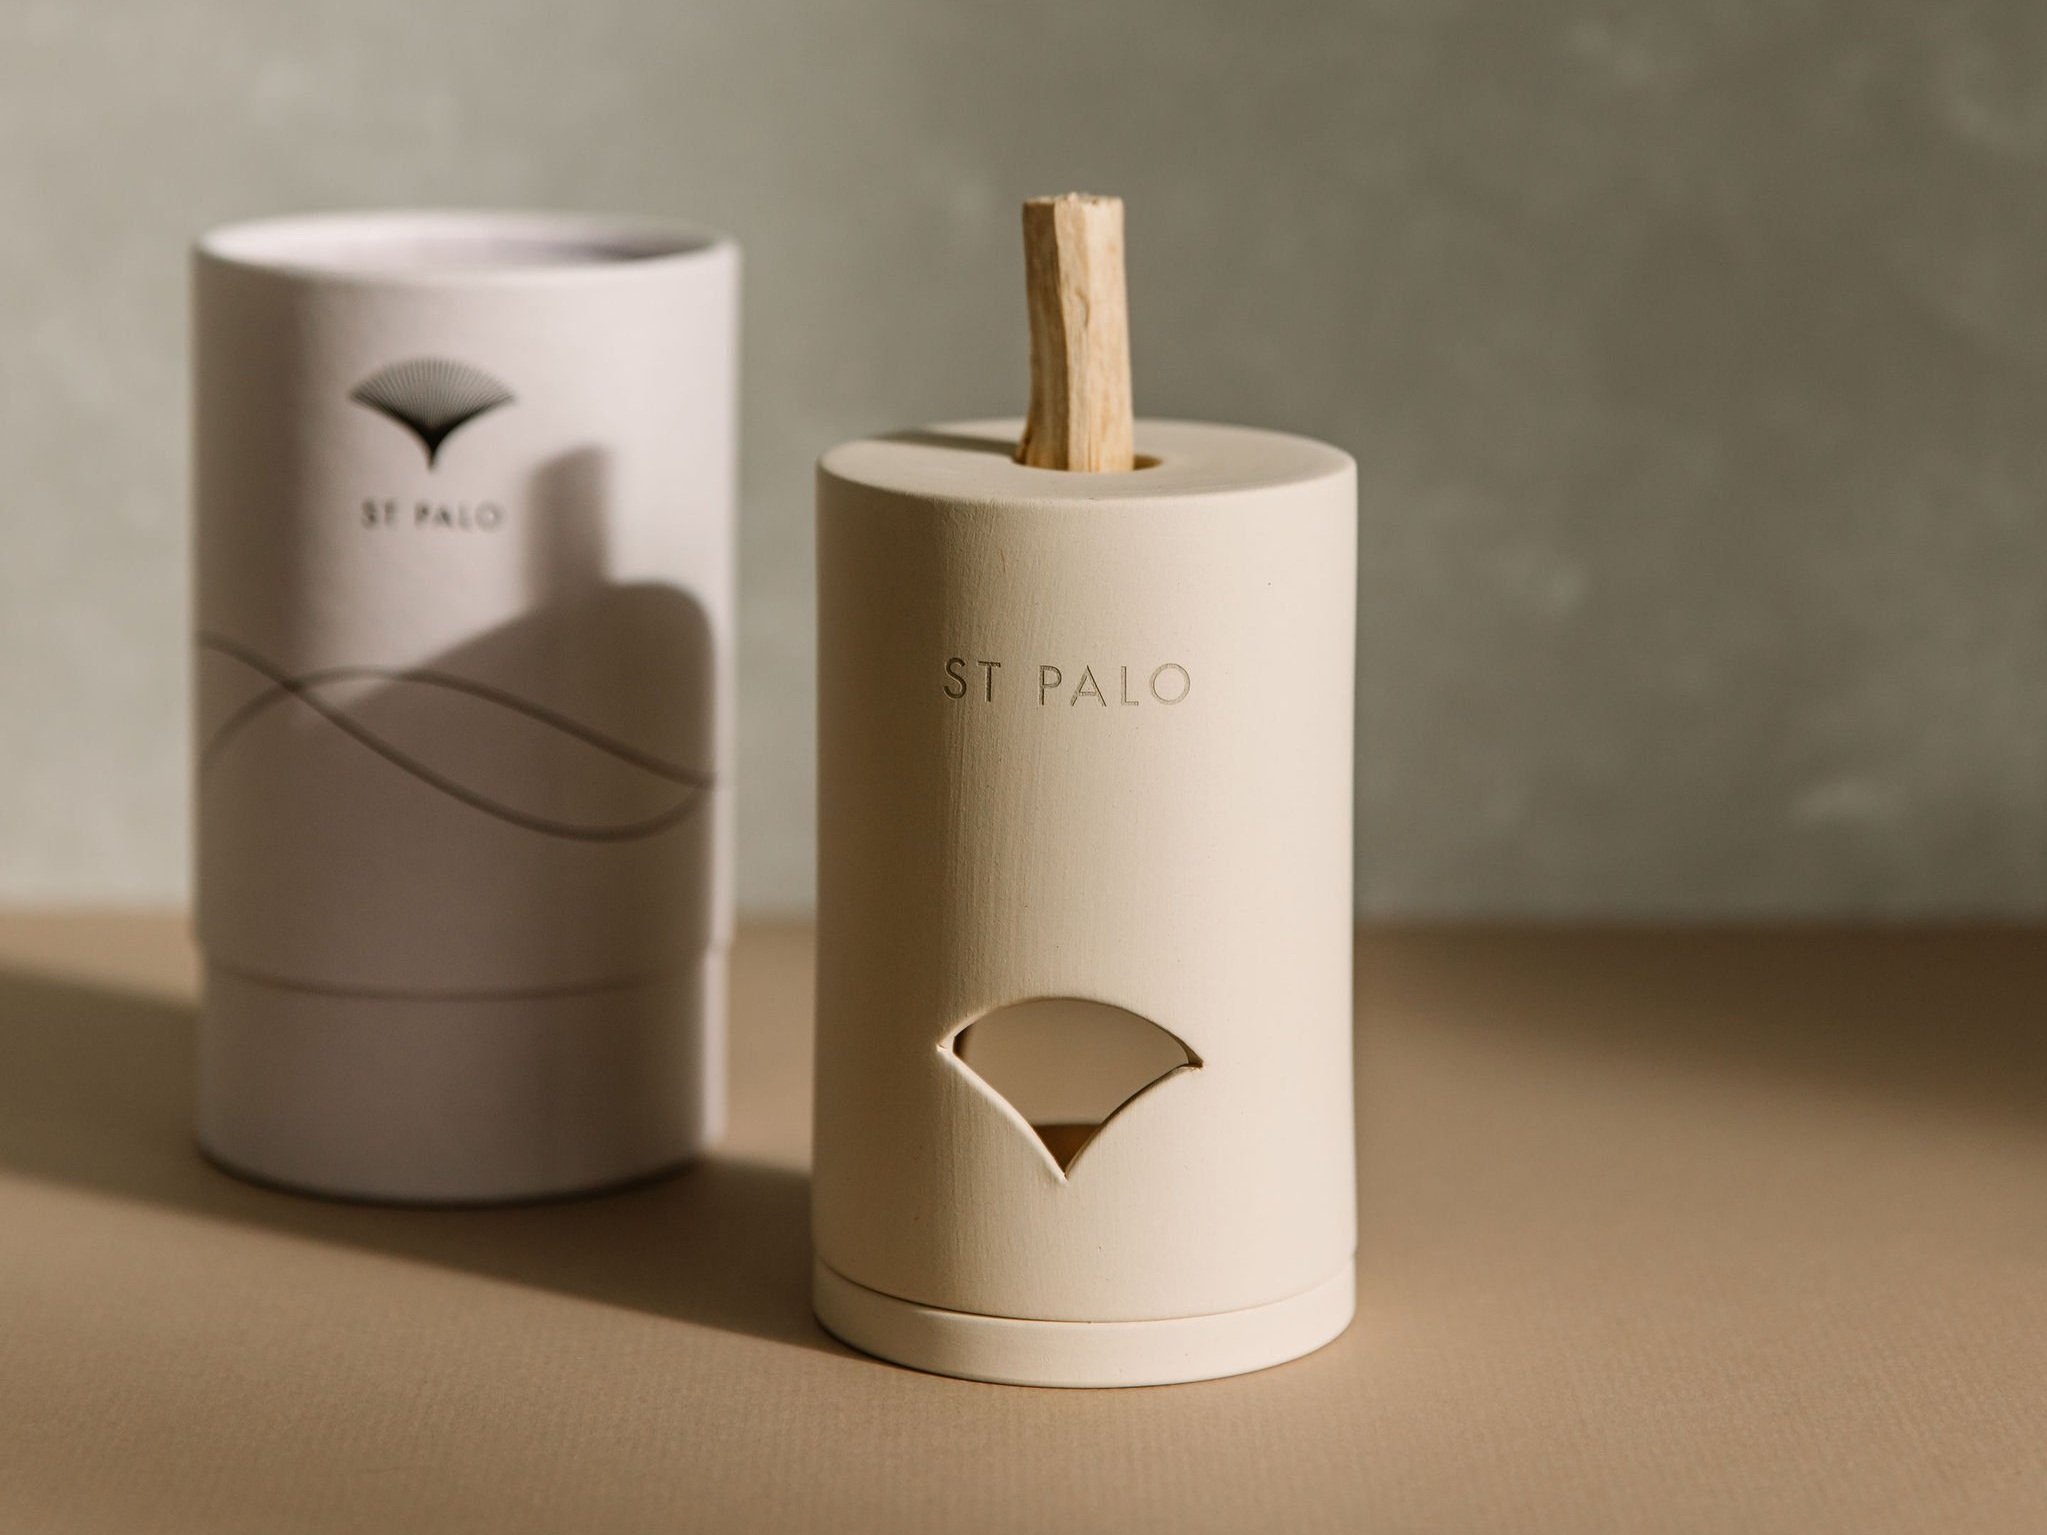
When the St Palo necklace first launched, we had to introduce a concept that, at the time, nobody was really familiar with.
This time around, I thought I’d share a little of my insider knowledge. Having developed the St Palo Wood Burner and spent plenty of time getting to know it, here are my tips for getting the very best from yours.
Burner tips and tricks
Let nature do its thing
Every stick of Palo Santo has its own unique formation, created by Mother Nature herself. This means the intensity of the aroma can vary from stick to stick — and sometimes you may notice the scent arriving in waves.
Think of the natural oils within the wood slowly warming and finding their own way out. No two pieces will behave exactly the same way, and that’s part of what makes Palo Santo so special.
Need a little scent boost?
Simply lift the wood out and place it back into the burner. This can help give the aroma a little boost.
If you feel your stick is beginning to lose its scent, try turning it around and warming the opposite end — checking your candle first, of course.
You can also gently shave the ends of the wood to expose a fresh surface, which can help release more of its natural oils.
Looking after your burner
Allow your burner to cool completely before cleaning. Use only a damp cloth and water.
We recommend using the burner for no longer than one hour at a time.
And don’t forget - your Palo Santo sticks can still be enjoyed in the traditional way too.
Before you begin
Firstly, please read the safety instructions included with your burner. While the St Palo Wood Burner offers a gentler way to enjoy Palo Santo without holding the wood itself to a flame, there are still important safety considerations.
Our Palo Santo wood has been specially selected to work beautifully with the burner. You can absolutely use your own Palo Santo sticks too, although naturally grown pieces come in all shapes and sizes, so some may fit better than others.
Find the right spot
Placement can make a real difference to the strength of the aroma.
In a larger room, the scent will naturally feel more subtle, while placing your burner close to an open window may allow the fragrance to escape. For a more noticeable aroma, choose a cosy spot away from draughts.
Light & let it warm
Carefully light your tea light and place it in the centre of the burner base.
Please only use metal-cased tea lights. The burner essentially creates its own little oven, so plastic-cased tea lights are not suitable.
It takes a few minutes for everything to warm up, so give it a little time. In a colder room, it may take slightly longer.